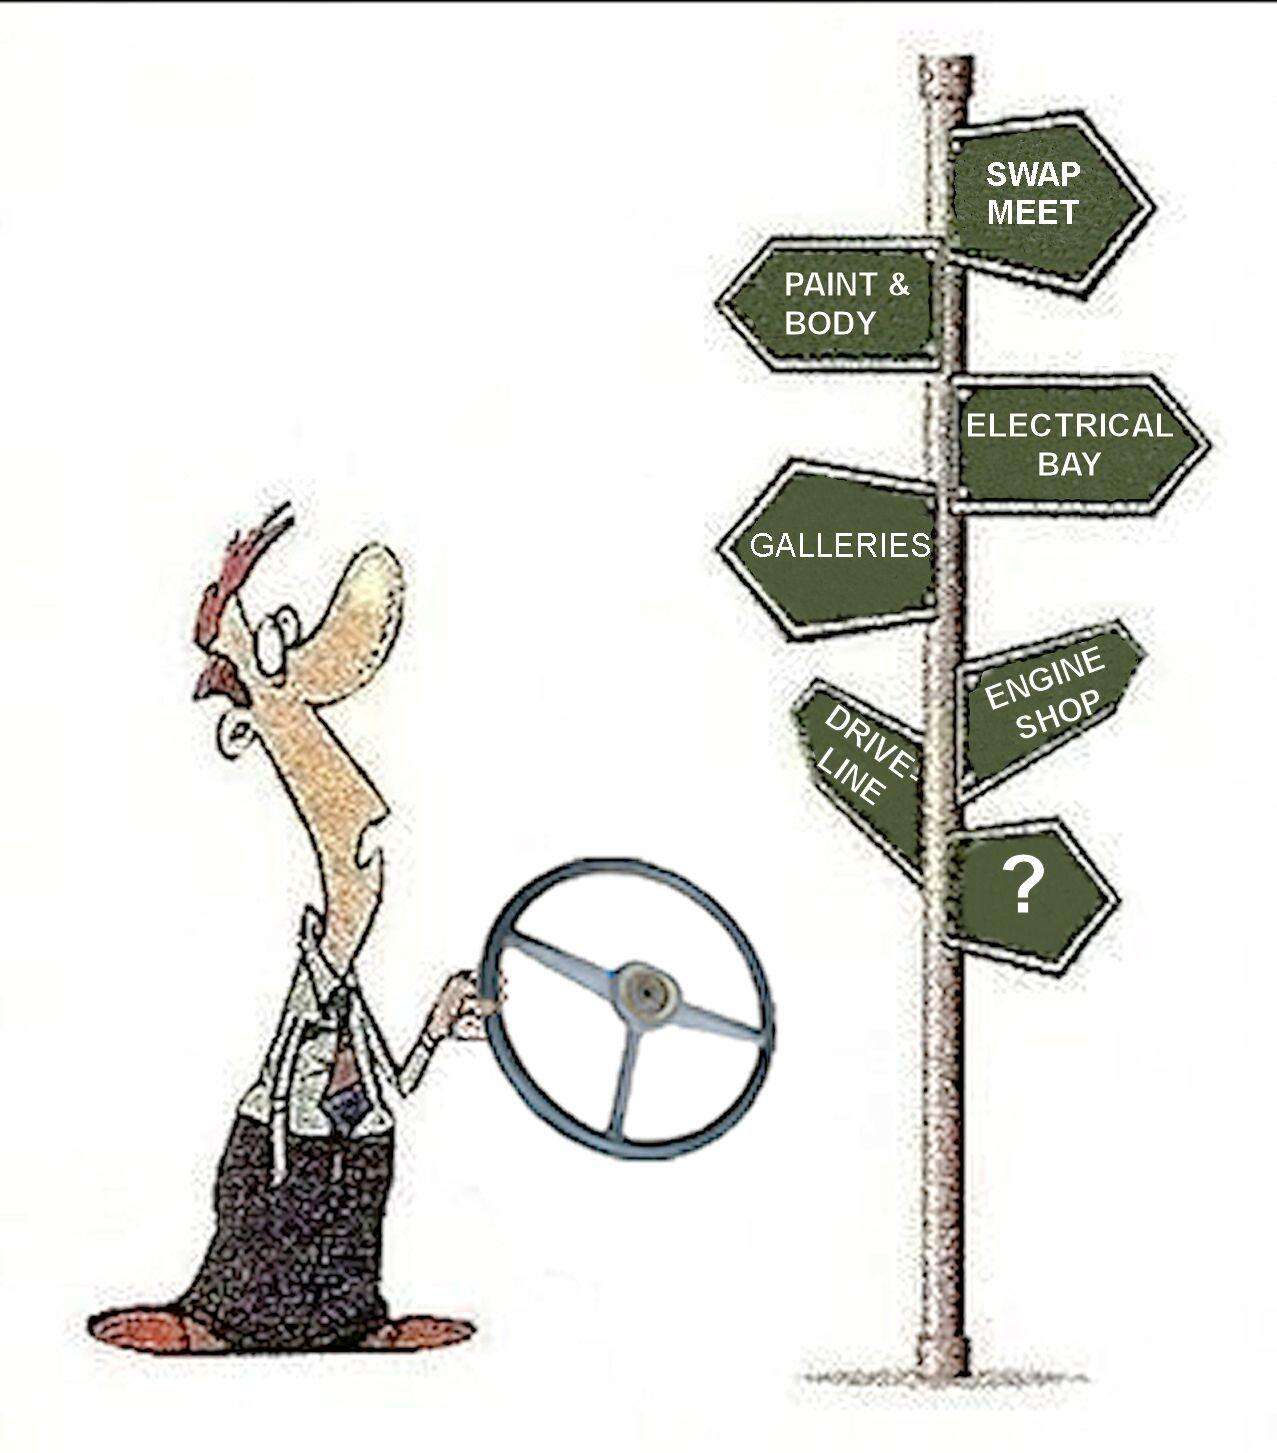
Winter is Coming
Time to think about winterizing your Bolt.
A good Tech Tip WINTERIZING YOUR TRUCK including a link back to the Forums for additional tips.
Those two at the bottom of the bore would actually be the easiest to get moving, with the geometry of the crank position. Turning force on the crank would be multiplied many times with pistons at BDC or TDC. But the others at mid-stroke would have the least mechanical advantage and would keep the crank from turning. Once disconnected from the crankshaft, each piston is an independent problem and usually will move without too much problem. On mine, even that one that was really stuck moved until it got to the top of the bore where there was too much rust and crud. I suppose I could have wire brushed the bore like you did and had better success, but I got it done with the brute force method.
Kevin 1951 Chevy 3100 work truck Follow this saga in Project Journal Photos 1929 Ford pickup restored from the ground up. | 1929 Ford Special Coupe (First car) Busting rust since the mid-60's If you're smart enough to take it apart, you darn well better be smart enough to put it back together.
I Of course the engineer who designed the bell housing attachment was clearly a Bond villain.
Sneaky trick here- - - - -use about a 3/4" or 1" diameter hole saw and poke a few holes in the bell housing adjacent to the clutch bolts you can't reach. Then use a universal joint socket to remove the bolts. That just leaves a few "clutch cooling holes" in the bellhousing, and it can be reused. You can even plug the holes with rubber expansion freeze plugs if you choose to do so. Jerry
"It is better to be silent and be thought a fool than to speak and eliminate all doubt!" - Abraham Lincoln Cringe and wail in fear, Eloi- - - - -we Morlocks are on the hunt! There is nothing noble in being superior to your fellow man; true nobility is being superior to your former self. - Ernest Hemingway Love your enemies and drive 'em nuts!
Well I got the bell housing off today. Tomorrow I will put it on the stand and flip it to start on the bottom end. I also spoke with a local machine shop. They will do the machining and I put it together, so for now that's all lined out.
The engine will not go through a full rotation. Pistons 2-4 will move up and down about an 1 1/2 inch when I rotat the pully by hand . 1 and 6 do not move at all. 1 and 6 move with persuasion.
I would think all 6 pistons should move. So I'm preparing for some disappointment when I get the oil pan off.
Also the hydraulic lifters will not come out. there is play, they just won't pull out. I did not get vigorous with them though.
My plan of action for the lifters is to remove the cam. then tap out the lifters from the bottom.
Or do the lifters have to out to remove the Cam?
Chris
Last edited by Phak1; 10/31/20261:12 AM. Reason: Typo
Rock49 aka C-Rodg work in progress 1956 Chevy 3100 261 engine
You’ll need to remove the lifters or lift them at least higher than the cam or the cam lobes won’t clear the lifters.
Last edited by Phak1; 10/31/20261:17 AM.
Phil Moderator, The Engine Shop, Interiors and Project Journals
1952 Chevrolet 3100, Three on the Tree, 4:11 torque tube Updated to: ‘59 235 w/hydraulic lifters, 12v w/alternator, HEI, PCV and Power front Disc Brakes Project Journals Stovebolt Gallery Forum
Well today piston #1 declared squatters rights and refused to move and the camshaft thrust plate was broken. Other than that everything went good for disassembly.
The bearings were worn but I did not note any pitting or scratches on the crankshaft wear surfaces. The camshaft did not look bad to me, but what do I know. The lifters had a little surface rust on the perimeter but bottoms were shiny and flat. So it looks like the bearings did there job.
Tomorrow when I have better light I will take photos of the rod and main bearings as well as the camshaft, lifters and crankshaft.
Have a good day.
Chris
Rock49 aka C-Rodg work in progress 1956 Chevy 3100 261 engine
Slip a bolt into the top of the tube- - - - - -I believe a 1/4" is about the right size. Then clamp a pair of vise grips over the area where the bolt is inserted and tap on the underside of grips with a hammer to slide it out of the block. Another way to do it is to slide a big socket over the tube before you insert the bolt, and use it like a slide hammer. Jerry
"It is better to be silent and be thought a fool than to speak and eliminate all doubt!" - Abraham Lincoln Cringe and wail in fear, Eloi- - - - -we Morlocks are on the hunt! There is nothing noble in being superior to your fellow man; true nobility is being superior to your former self. - Ernest Hemingway Love your enemies and drive 'em nuts!
Jerry's ideas would work. When I removed the dipstick tube I used a drift punch that fit closely in the hole and tapped it out from the bottom.
Kevin 1951 Chevy 3100 work truck Follow this saga in Project Journal Photos 1929 Ford pickup restored from the ground up. | 1929 Ford Special Coupe (First car) Busting rust since the mid-60's If you're smart enough to take it apart, you darn well better be smart enough to put it back together.


 A good Tech Tip