Okay, I am sitting in my office on this Saturday morning, trying to make a game plan for my 1948 (that I thought to be a 1949).
First a short info about me and the truck. I am a farmer since I was born, my grandfather told me so when I was 4 or 5. I grew up in Germany and immigrated to Alberta, Canada in 1981, married a German girl in 1986 and we are still happily together, now with three sons that have their own families and we have three grandchildren, two boys & one girl.
My wife and I owned a processing company for 25 years and exported legumes (peas, beans, broad-beans etc.) and other seeds & food product's around the world, mostly Japan, Thailand, Malaysia and some to North Africa & Europe. We sold this business in 2021 and I am told that I am retired, but I refuse. I still farm a little, but slowly face this part in me out. It just gets to hard on my old bones.
We build a new farm site in 2010, with a house (this was designed by my wife), that was to be small, but with space for the boys when they come and room for this and that, that became a 4300 sq-ft home.
I build a 60'x80' steel frame workshop for me. Insulated, floor heat etc. that our oldest son now occupies for this car building & fixing shop. It has a lathe, end-mill, CNC plasma table, welding tables, powder coating ovens, TIG, MIG and stick welders etc. that my son uses for his work. So in 2021 we added a 60'x50' extension to the former. Spray-foamed, but not heated, with a 20'x30' wood=shop inside that has floor heat in it. This is now my area where I can go and do my stuff.
We call it the machine shop. My combine, field sprayer, tractors, skid-steer, Quad's and 1953 Chev pickup are in it now.
The 1953 I bought last fall 1953 CHEVY and he is now nearly done, so I am on to new deeds.
Here comes my 1948 1 ton now. I bought the truck in 2008 and he run at that time. we did some work to it in 2017 1948 (49) brake work.
The truck is outside, covered with snow and my plan is as follows:
1. clear space in my machine shop and start stripping the 48 down to the frame.
2. re-do the frame from ground up, cleaning all and re-paint all. Perhaps sand-blast & powder-coat axles & frame so it is good for many years.
3. The current engine is done, kaputt, but I got a shop rebuild 216 that I bought from a very rebuttable company that has rebuild V8 Ford & Chrysler pumping engines for us over the past 40 year with a CAd6,300 Work-order that the owner never picked-up and lost his deposit on. I bought the engine for CAD3,600 and he is still in his crate.
Other option would be a 236 (I think, but need to verify) Oldsmobile engine I have, but it needs a rebuild.
Re-build the transmission (four-on-the-floor), drive shaft etc.. Rebuild the axles, front & rear. Check the breaks over again.
4. Keep the body as is, but fix the interior up to be nice & usable with change-over from 6 volt to 12 volt.
5. re-do the box floor in oak, I have the tools to do so.
This truck will become my daily, local driver beside the 53.
This will be a slow process, because I still have lots 'on-the-go'.
Sounds like you have all the tools and experience required to tackle this project. Your '53 looks great!
I am not sure but the 4 speed may be a SM420 which is pretty straight forward to rebuild if it needs it, they are pretty robust.
Looking at your post about brake drums it is not clear which rear axle you have. I am guess a 1 ton would have the Eaton HO, probably with a 4.56 ratio although I believe some had a 5. something ratio. There is a lot if information about converting them to a 4.10 ratio but those are getting very hard to find.
It is still too lousy to get the pickup in to the shop, but I looked through the supporting material I have for this truck.
The truck was bought in Coaldale, Alberta in 2008. The key-chain has a 1976 War Amps of Canada Tag # 118939 and a coal=miners tag like a star with ‘40’ stamped. (picture)
Contacted War Amps, waiting for reply. Found tag in the truck from Enerson Motors Ltd. Pontiac – Buick – GMC Lethbridge, Alta. Lic. No GMC 1 TON Handwritten: E. Anderson, Barnwell
No papers in the clove box, but lots of mouse nests (juck)
That truck is in pretty nice shape, sheetmetal-wise, except somebody clearly didn't like running boards and beat them up a bit. That right rear fender looks a little ugly, and someone attempted to fix it with bondo at some point in it's history. Could be pretty easily fixed if you're so inclined, but looks usable as is. The overall Patina is pretty nice.
Best of luck with your build.
Kevin 1951 Chevy 3100 work truck Follow this saga in Project Journal Photos 1929 Ford pickup restored from the ground up. | 1929 Ford Special Coupe (First car) Busting rust since the mid-60's If you're smart enough to take it apart, you darn well better be smart enough to put it back together.
I feel the truck is in general good condition, when compared to others I have seen.
Some damage to fenders, right running board, passenger door strikes too tight and the inside will be shown once I start cleaning the mouse-mess out.
Initially, I was going to do a total frame rebuild and this is still my goal. stripping everything off and sand-blast the frame & axles, than bring all to spec. with new King Pin, bushings etc.
Initially, I also thought to keep the body with the patina it has now, but my automotive son things 'why not paint it all proper since it is all going to be apart anyway. I am getting to like the idea, cause than the baby is ready for a long time to go.
I made an agreement with my wife that I split my (working) time to 1/2 for her bucket list and 1/2 for mine.
Will see how that will go.
LOL! Good luck with that. I'm going to bet her bucket list will get top priority. At least in her mind.
Kevin 1951 Chevy 3100 work truck Follow this saga in Project Journal Photos 1929 Ford pickup restored from the ground up. | 1929 Ford Special Coupe (First car) Busting rust since the mid-60's If you're smart enough to take it apart, you darn well better be smart enough to put it back together.
What is the light on the front driver side fender below the parking lights?
1950 Chevrolet 3100 (Ol' Roy)
1939 Packard Standard Eight Coupe (The Phantom) | 1956 Cadillac Coupe de Ville (The Bismarck) | 1964 Ford Galaxie 500 coupe |1966 Ford Mustang (Little Red) | 1969 Pontiac GTO (The Dishpit) I 1979 Ford F-100 | 1976 Ford F-150 (Big Red) | 1995 Ford F-150 (Newt)
Otto - If you zoom in on the pic it looks like a surface mounted reflector instead of a light.
~ Dan 1951 Chevy 3 window 3100 Follow this story in the DITY Gallery "My Grandpa Carl's Truck and How it Became Mine" 1966 Chevelle (Wife's Hot Rod) | 2013 Chevy Silverado (Current daily driver) US Army MSG Retired (1977-1998) | Com Fac Maint Lead Tech Retired (1998-2021)
Yes. That's weird that there isn't one on the other side.
1950 Chevrolet 3100 (Ol' Roy)
1939 Packard Standard Eight Coupe (The Phantom) | 1956 Cadillac Coupe de Ville (The Bismarck) | 1964 Ford Galaxie 500 coupe |1966 Ford Mustang (Little Red) | 1969 Pontiac GTO (The Dishpit) I 1979 Ford F-100 | 1976 Ford F-150 (Big Red) | 1995 Ford F-150 (Newt)
Otto - If you zoom in on the pic it looks like a surface mounted reflector instead of a light.
Maybe so. Why would a reflector be needed there? And why not put one on the other side?
1950 Chevrolet 3100 (Ol' Roy)
1939 Packard Standard Eight Coupe (The Phantom) | 1956 Cadillac Coupe de Ville (The Bismarck) | 1964 Ford Galaxie 500 coupe |1966 Ford Mustang (Little Red) | 1969 Pontiac GTO (The Dishpit) I 1979 Ford F-100 | 1976 Ford F-150 (Big Red) | 1995 Ford F-150 (Newt)
1939 Packard Standard Eight Coupe (The Phantom) | 1956 Cadillac Coupe de Ville (The Bismarck) | 1964 Ford Galaxie 500 coupe |1966 Ford Mustang (Little Red) | 1969 Pontiac GTO (The Dishpit) I 1979 Ford F-100 | 1976 Ford F-150 (Big Red) | 1995 Ford F-150 (Newt)
Joerg, sorry I missed this in the DITY! Farm trucks and farmers usually jump out for us here at HQ. What a great project for your *retirement* and to share with your family. Looking forward to see your progress. (Stay warm! )
~ Peggy M 1949 Chevrolet 3804 "Charlie" - The Stovebolt Flagship In the Gallery "Success comes in 'cans' ..."
Otto - If you zoom in on the pic it looks like a surface mounted reflector instead of a light.
Maybe so. Why would a reflector be needed there? And why not put one on the other side?
Yes, it is a reflector and yes why? Why only on the left side (close to road center) and not both? This will probably stay a mystery forever.
Than the next question(s): remove it and fill the holes before we paint? Put a second on the right side and a new-one on the left (it's cracked) or, for curiosity sake keep 'as is' for everyone to ask me later "why".
I must go and have a look, you guys are worth than my son for chasing me around
Sorry Joerg Wasn't meaning for you to go jump up and figure out what it is. I think all our trucks have at least one "owner add on" hahaha!!! I know mine has lots of them. Many with little or no explanation or understanding as to why???
It's a great looking truck!!!
Last edited by Gdads51; 02/22/202511:44 PM.
~ Dan 1951 Chevy 3 window 3100 Follow this story in the DITY Gallery "My Grandpa Carl's Truck and How it Became Mine" 1966 Chevelle (Wife's Hot Rod) | 2013 Chevy Silverado (Current daily driver) US Army MSG Retired (1977-1998) | Com Fac Maint Lead Tech Retired (1998-2021)
Even if I were going to leave the truck in its current unrestored condition, I'd remove the reflector and not worry about the screw holes.
1950 Chevrolet 3100 (Ol' Roy)
1939 Packard Standard Eight Coupe (The Phantom) | 1956 Cadillac Coupe de Ville (The Bismarck) | 1964 Ford Galaxie 500 coupe |1966 Ford Mustang (Little Red) | 1969 Pontiac GTO (The Dishpit) I 1979 Ford F-100 | 1976 Ford F-150 (Big Red) | 1995 Ford F-150 (Newt)
I am just posting a few informational pictures here and will go to the relevant sections in this forum for more detailed discussions. I hope this is okay & correct.
Post away Joerg! We can enjoy and share in your trucks early stage looks a you get ready to tackle your project. I think we can try and keep the "commentary" and "pestering questions" to a minimum. That way we can focus on helping you on things when you do have questions!
~ Dan 1951 Chevy 3 window 3100 Follow this story in the DITY Gallery "My Grandpa Carl's Truck and How it Became Mine" 1966 Chevelle (Wife's Hot Rod) | 2013 Chevy Silverado (Current daily driver) US Army MSG Retired (1977-1998) | Com Fac Maint Lead Tech Retired (1998-2021)
I am removing the boards now and it gets me thinking about replacing it. Lots of dimensions, info etc. is in the BOX forum, but I can get a oak floor if I build it myself for less what I could buy a ready pine floor for. Any thoughts?
Last edited by Biermann; 02/26/20254:20 PM. Reason: Text added
Hi Joerg, if it were my truck I would definitely go with oak instead of pine for the box. If you can find white oak, go with that. It’s much harder than red and will outlast you. If you can’t find white oak, red oak would be my second choice. It isn’t hard to mill the bed planks to fit your wear strips. Just take one of the metal strips and hold it against a plank end to draw the profiles you need to cut so the wear strips lay a little proud of your bed planks.
Alright. the sun is shining and I am on my 48 project again.
The old floor boards are out!
I was in the silly hope to 'just' undo the old bed bolts, but that didn't come as hoped, so I used the old fashioned brute force. Starting with the center board, halving it with the good-old Milwaukee skill saw and levering it out. Tricky were the front carriage bolts, but with some patience and wiggling I got all done.
I still don't know how to write anything after the pictures in the same message, but it will come.
NEXT will be the running boards, rear fenders and the dissection of the box for straightening, fixing and sand blasting (or old-fashioned sanding) followed by priming.
BTW, I am impressed of the condition the old metal is in, must be our dry weather, were rust is not as aggressive as having 30-40" of rain and 80% humidity. Semi-dessert has its charm.
Stay tuned
Last edited by Biermann; 03/17/202511:45 PM. Reason: Added something
It's fine that you have a post that goes with the images ... that make sense to me! I really like that you have your image explanations in ALL CAPS. Makes it easy to read.
~ Peggy M 1949 Chevrolet 3804 "Charlie" - The Stovebolt Flagship In the Gallery "Success comes in 'cans' ..."
I did some work on the front end (fenders, bumper, radiator out etc.) but time is short right now to work on this right now, but I thought of something.
The engine in this truck will come out and definitely needs major work, but! I have a 261 engine that is on a stand and I will look it over. It seems rebuild because it is clean and first appearances are promising. Anything that speaks against the 261 to go into this truck with the four speed transmission, after the frame & body work is done?
Last edited by Biermann; 06/21/20257:03 PM. Reason: spelling
Alright. the sun is shining and I am on my 48 project again.
The old floor boards are out!
I was in the silly hope to 'just' undo the old bed bolts, but that didn't come as hoped, so I used the old fashioned brute force. Starting with the center board, halving it with the good-old Milwaukee skill saw and levering it out. Tricky were the front carriage bolts, but with some patience and wiggling I got all done.
Impressive debris pile. I did a boat deck project that started off like that once. 😂
Last edited by Gdads51; 06/22/20252:24 PM. Reason: fix double quote post
I thought I give you a little update about my project.
Well, nothing has happened over the past month.
I was busy finishing my last harvest as a farmer. I pushed retirement away for six years, but everyone around me said 'its time to let go' and so I did. The land is rented out and our equipment is sold in the next twelve month.
My own suspension is not working to great. My left hip is done, finished, kaput and I will take two month off to get a titanium joint installed. Next year I hope I get a left knee fix-up here in our country.
Anyway, on top of all that, we had to clean our machine shop out, meaning removing the collection of stuff from 15 years (only, luckily). My hardworking, oldest son took all the fiberglass insulation out, 4" in the walls and 6' in the roof and we have a fellow spray foaming it to get it airtight. The shop has floor heat, but we could keep the heat in at cold winter days with -35 to -40°C. So, we spend some time and money and get it fixed.
Anyone ever builds a shop, wood or steel, do it right at the start and get it spray foam insulated. Its costly, but it works! We added 50' to our 60'x80' steel building without floor heat and had it spray foamed with 3" for the roof and 2" in the walls and this building stays around freezing even at -35 to -40°C.
So, the 1948 GMC has to wait a little longer, but he won't mind, I know.
Happy wrenching to you all,
Joerg
Last edited by Gdads51; 10/06/20252:28 AM. Reason: edit to merge with Dity thread where it belongs
I have been very quiet, more likely totally out for eight month.
One new hip, right upper suspension, done in Germany for CAD15,000 about. I could luckily stay with my mother-in-law and my wife was my driver. Enjoyed good food, beer and Christmas Markets. I have to say that the German system has the physio worked-out to near perfection. This is under German Health Insurance covered and is mandatory if you are insured under a German health plan. I could buy it for CAD3000 about (included in the total cost) and it was for 3 weeks, 5 days full program with paper trail! I feel it helped me a lot. Back to Alberta mid December and a call to my doctor revealed a open spot for my left knee in late January. One doesn't give a spot like that away and I didn't, so on Jan. 29th I had a partial knee replacement (left lower suspension) in our local hospital and all is good now after five month. After care is only there if you pay for it your self, but not as involving as with the hip job. 'I learned a lot!'
I have been busy with physio, equipment sales and gardening. My movements are still improving and give it two more month and I should be back to normal. My old 48 GMC sits as is sat when I left him in October. One seed drill and my combine still fills my chop, but I should be back at the rebuild next week or the week after.
Joerg. That's a lot going on with you. Glad you gave an update. Hope you'll be moving around better and better. When you get to your "48, I'm sure we'll hear from you.
~ Peggy M 1949 Chevrolet 3804 "Charlie" - The Stovebolt Flagship In the Gallery "Success comes in 'cans' ..."
Alright - we carry on. First snow for the season and I have my GMC 48 in my heated shop. He was in my machine shop since last year, dry and well protected.
The tasks at hand: Remove driveshaft, engine & transmission, then front & fenders and cab.
Please have a look at the firewall, I assume the 'red' is the original color. Go back to it or use something close to the green the main color is now? Any thoughts?
One more question: windshield & rear window glass seems to be good and usable. Just cut the rubber gaskets and pull them out?
Yes, you can slice the gasket around the windshield and rear window to get the glass out. That's the easiest way.
On the color, GMC different color choices than Chevy trucks. My first thought was your red was Chevy Omaha Orange, but it's definitely a red. The red on the cab where the bed was is a sign of the original color. This LINK should show the colors available for 1948, although it's for 1950. The same red was available in 1946. A modern paint code for Pimpernel Scarlet is Martin Senour NAPA 98L-1014.
Last edited by klhansen; 10/12/20266:10 PM. Reason: added paint code
Kevin 1951 Chevy 3100 work truck Follow this saga in Project Journal Photos 1929 Ford pickup restored from the ground up. | 1929 Ford Special Coupe (First car) Busting rust since the mid-60's If you're smart enough to take it apart, you darn well better be smart enough to put it back together.
certainly, I can pick the color I want and I prefer green. Gaskets, the cab needs to be cleaned, rust removed, probably with a low abrasive blasting and re-painted. All this is much easier with everything removed. Old gaskets are stiff, don't seal well and are a pain to remove and re-install. Just cutting them out is the simplest but no change possible once this is done.
BTW, I noticed the driver side windshield has a rock-chip.
As I mentioned, GMC colors are different than Chevy. While Chevy used only Forester Green as a standard color [on edit] forgot Chevy's optional Seacrest Green [/edit], GMC had 4 different greens in 1948.
If you want to go with one of the original GMC colors, here are the codes. But like Rich said, it's your truck. Pick whatever color you like.
Apple Green - Martin Senour #115 (striping color on earlier Chevys) Brewster Green - Martin Senour #111 (Chevy stopped using that before 1948) Morat Green - Martin Senour #98L-1015 Narva Green - Martin Senour #98L-1013
Last edited by klhansen; 10/13/20265:56 PM. Reason: oops forgot Chevy's second green
Kevin 1951 Chevy 3100 work truck Follow this saga in Project Journal Photos 1929 Ford pickup restored from the ground up. | 1929 Ford Special Coupe (First car) Busting rust since the mid-60's If you're smart enough to take it apart, you darn well better be smart enough to put it back together.
Me again. You all will know what goes on in my head right now. I am ripping my old truck apart, but I am laying in bed and think about 'how & what' to do with the pieces.
I believe I have a very good plan, but, plans are there to be re-drawn. Others have the option to abandon what they started, I have never done it.
My oldest and I had the discussion on this truck some years ago and it went like this: me, I like to keep it stock as much as possible. He, f.... that noise, V8, turbo, inter-cooled, I got the parts, front axle, rear-axle, tranie, frame, just keep the cab & box. Me, no chance, original as much as possible. End of conversation.
Now I start thinking about the engine, the old L6 run when we started the dismantling. No problem to rebuild it to 'as-good-as-new' condition, but than I have my 261 Pontiac with 848 head with a good HP potential. We can make that relatively easily fit and I have nearly double the original pony's.
But than comes - what goes fast (relatively) forward needs to be stopped some how and I think of the TSM Mfg. Kit #1847 front disk break conversion kit. That's were my son starts loving 'you are not original anymore' and he has a point.
Jorg , all of my vehicles are virtually 100% stock. I have been driving my 1956 Coupe DeVille as my primary vehicle for 25 years. It has excellent drum brakes will cruise at 80 miles an hour for 9 hours straight without breaking a sweat on its original engine that has never been rebuilt.
I use the 1950 Chevrolet pickup for work and regularly drive 55 to 65 mph on interstate traffic, and in stop and go rush hour traffic on the freeway. It also has properly rebuilt stock Huck brakes. The engine itself has never been rebuilt as far as I know. At least not in the last 30 years.
Four wheel drum brakes when properly adjusted and kept in good order work perfectly with no drama. Why do you think tractor trailers , dump trucks, and box trucks, etc all use drum brakes?
How fast do you want to drive in an antique truck? If you put a V8 in it are you really going to be driving 80 or 90 miles an hour? I doubt it.
I'm a firm believer in not trying to reinvent the wheel with my vehicles. The engineers that designed them knew what they were doing and they function perfectly when properly maintained.
All of my vehicles with the exception of the modern (post 1972) Ford trucks, have breaker point ignition, single brake reservoirs, and drum brakes.. I have never been worried or afraid of driving any of my vehicles in modern traffic on any type of road.
I understand the limitations of each vehicle and I don't attempt to drive beyond their limitations.
I vote for keeping it stock. One advantage to that is that if something breaks, you have a shop manual right in front of you that tells you exactly how to fix it.
Last edited by Otto Skorzeny; 10/20/20266:33 PM.
1950 Chevrolet 3100 (Ol' Roy)
1939 Packard Standard Eight Coupe (The Phantom) | 1956 Cadillac Coupe de Ville (The Bismarck) | 1964 Ford Galaxie 500 coupe |1966 Ford Mustang (Little Red) | 1969 Pontiac GTO (The Dishpit) I 1979 Ford F-100 | 1976 Ford F-150 (Big Red) | 1995 Ford F-150 (Newt)
Otto 😥 you saved me from going 🤪 thank you, I am back on the ground now.
Question: I recall we did the brakes many years ago, new hard lines, new master brake assembly and new wheel cylinders, but kept the shoes, just cleaned them up. The drums went on our lathe and we cut the grooves out, but I have to measure how much we cut, remembering that we had a discussion on it here and we did it very careful. The question is - can one get new brake drums for this truck?
If they're the same as the Chevrolet 3100, I'm pretty sure the filling station or Jim Carter or somebody sells them
1950 Chevrolet 3100 (Ol' Roy)
1939 Packard Standard Eight Coupe (The Phantom) | 1956 Cadillac Coupe de Ville (The Bismarck) | 1964 Ford Galaxie 500 coupe |1966 Ford Mustang (Little Red) | 1969 Pontiac GTO (The Dishpit) I 1979 Ford F-100 | 1976 Ford F-150 (Big Red) | 1995 Ford F-150 (Newt)
1939 Packard Standard Eight Coupe (The Phantom) | 1956 Cadillac Coupe de Ville (The Bismarck) | 1964 Ford Galaxie 500 coupe |1966 Ford Mustang (Little Red) | 1969 Pontiac GTO (The Dishpit) I 1979 Ford F-100 | 1976 Ford F-150 (Big Red) | 1995 Ford F-150 (Newt)
I like "looking stock" if you can. I kept the 6-cylinder look, but swapped to a 235 on my '46 truck. I kept the torque tube driveline, but changed to 3:55 gears. I did stay with the drum brakes all around. I have to plan out my stopping distances and getting use to leaving space in front of me. I do worry a little approaching yellow lights or people pulling out in front of me. I don't know that there's a disc brake kit to fit my year that is just bolt-in. I mostly see them for '47 and newer. I have just over 500 miles on my truck now and it has done well.
~ John in Utah 1946 1/2Ton w/4-speed manual transmission w/1960 235 engine Here We Go Follow in his DITY Bay
- If you think about it, it has been one year ago today!
I like "looking stock" if you can. I kept the 6-cylinder look, but swapped to a 235 on my '46 truck. I kept the torque tube driveline, but changed to 3:55 gears. I did stay with the drum brakes all around. I have to plan out my stopping distances and getting use to leaving space in front of me. I do worry a little approaching yellow lights or people pulling out in front of me. I don't know that there's a disc brake kit to fit my year that is just bolt-in. I mostly see them for '47 and newer. I have just over 500 miles on my truck now and it has done well.
John, planning your stops is the way everyone should drive regardless of the vehicle. It's the way everyone used to drive. Modern cars that do everything for you have made worse drivers out of many people rather than making them safer drivers.
1950 Chevrolet 3100 (Ol' Roy)
1939 Packard Standard Eight Coupe (The Phantom) | 1956 Cadillac Coupe de Ville (The Bismarck) | 1964 Ford Galaxie 500 coupe |1966 Ford Mustang (Little Red) | 1969 Pontiac GTO (The Dishpit) I 1979 Ford F-100 | 1976 Ford F-150 (Big Red) | 1995 Ford F-150 (Newt)
Joerg -- Thanks for the heads up. The easy way, eh? If doing things the easy way is your thing now, why are you messing with antiquated GM trucks?? Huh???? 'Splain THAT, mr let's just go buy 30L of Pils.
*Anyone* can go buy beer .... sheesh.
~ John
A kid raised on Hotwheels, Matchbox and Tonka cannot be reasonably expected to own only one vehicle as an adult.
1949 Chevrolet 3804 In the Legacy Gallery | In the Gallery Forum 1973 IH 1310 Dump 1963 Kaiser M38A1 2001 International/AmTran RE3000 "Skoolie" 2014 Ford E-350 4x4 (Quigley)
Straighten them. They are pretty squished, but can be straightened (don't use heat if you can help it.) It'll probably take a shop press to accomplish it. Original bumper mounts are spring steel and have nice rounded corners. The aftermarket replacements are mild steel and have sharp corners. Overseas junk. Maybe you can find some decent originals by posting a want ad here or finding a wrecking yard with old stuff.
Your engine seems to be a 1945 216, cast Jan 6 1945. The 3838549 number goes from 43-53. Not that it matters.
Last edited by klhansen; 10/24/202611:04 PM. Reason: added info on engine numbers
Kevin 1951 Chevy 3100 work truck Follow this saga in Project Journal Photos 1929 Ford pickup restored from the ground up. | 1929 Ford Special Coupe (First car) Busting rust since the mid-60's If you're smart enough to take it apart, you darn well better be smart enough to put it back together.
That's my thoughts, too. I believe straightening them would be relatively easy, if I had the measurements that I have scribbled into the attached picture.
They are also horizontally bend, now pointing upward and I think I can bend them down already before I remove them, one reason why they are still on.
Last edited by JoergK.; 10/24/202611:30 PM. Reason: Corredted Picture
I believe they should point upward just a bit. What I would do is use the frame horn as a lever for straightening them first. The two bars are joined by a rivet about where the arrow is on the attached pic. I believe they point straight forward until that rivet. I do have a set of repop bumper brackets in the box that I might be able to measure for you.It would be easier than measuring on the my truck, because the weather is getting nasty and the apron is in the way, requiring laying on the ground. My original front bumper brackets were trashed, but I was able to find a good pair at a wrecking yard.
Let me know if you'd like those dimensions.
Kevin 1951 Chevy 3100 work truck Follow this saga in Project Journal Photos 1929 Ford pickup restored from the ground up. | 1929 Ford Special Coupe (First car) Busting rust since the mid-60's If you're smart enough to take it apart, you darn well better be smart enough to put it back together.
Yes, Kevin, if possible, give me the measurements. I will clean this all up and try to massage the steel to it's former glory.
I found below new brackets, but they look different. The current, smashed brackets for reference. Let me see if I cam locate the old front bumper, at least I can use it for matching the bend & holes to the right spots.
Joerg, Yes those are what the ones I have look like. It shows how bent yours are. Here's some pictures and what I think are full dimensions.
First, bumper bolt dimensions. Center of the center hole to the inboard bracket bolt is 12.5 inches. Center of the center hole to the outboard bracket bolt is 30 inches, and the two mounting holes are 17.5 inches apart. These were measured inside the bumper in a straight line. The frame should measure 25.5 inches at the very front, but is tapered out toward the rear so that's pretty close to the 25 inches between the inner bumper holes.
Bracket dimensions 13.25 inches from center of front frame bolt hole to face of the bumper mounting surface (near the inboard bumper bolt) 5.5 inches from center of front frame bolt hole to the outer tip end of the bracket 1 inch from a line extended from the frame/bracket mounting to the inner edge of the inboard mounting slot (slots are 7/8 inches wide) With the mounting end flat on the table, the bottom of the mounting ends are 1 inch above the table The rivet head is offset outboard of the frame/bracket line by 1.25 inches. Pictures attached that will help clarify some of these. If you still have questions, post back and I can try and help.
These aftermarket brackets are roughly constructed, the same as I have on my rear bumper brackets, but with the front splash apron installed, they wouldn't be visible. The corners have visible burrs on them where they were stamped. If you can find a set of originals, I think you'd be better off. It's going to take some heavy duty bending to get yours straightened out.
Kevin 1951 Chevy 3100 work truck Follow this saga in Project Journal Photos 1929 Ford pickup restored from the ground up. | 1929 Ford Special Coupe (First car) Busting rust since the mid-60's If you're smart enough to take it apart, you darn well better be smart enough to put it back together.
Thanks again Kevin, you are correct, one of the previous owners must have done a good crash-test on the bumper mounts and it will take some doing to straighten them out.
ADDED: I am thinking: if I bolt a heavy channel across, with the bolt pattern from the old bumper, it should be possible to pull (or push) this out with the proper equipment.
I think I leave this alone for a bit and see if the whole frame needs to go on the table to be straightened, if so, we can lock it down and use chain pullers to move them.
I looked at the frame from the front this morning & noticed the bend frame front end. The Bumper mounts are hardened steel and not heating them is not the right advise. They bend 4-6 degrees, but then snapped. I guess I get retro mounts.
Last edited by JoergK.; 10/26/20265:12 PM. Reason: missed picture
Yeah, that frame took a pretty good hit. Hopefullyl you can get the frame straightened. That may take some heat, especially that crunched front crossmember.) The spring steel bumper mounts can only stand so much bending, then they break like you found. But if you would have heated them they would have lost their temper (springy-ness.) Mine that were still on the truck when I got it were broken in a couple places as well, but I was able to find original replacements that were good. If it wasn't so expensive to ship, I'd send you the pair of repops that I have.
Kevin 1951 Chevy 3100 work truck Follow this saga in Project Journal Photos 1929 Ford pickup restored from the ground up. | 1929 Ford Special Coupe (First car) Busting rust since the mid-60's If you're smart enough to take it apart, you darn well better be smart enough to put it back together.


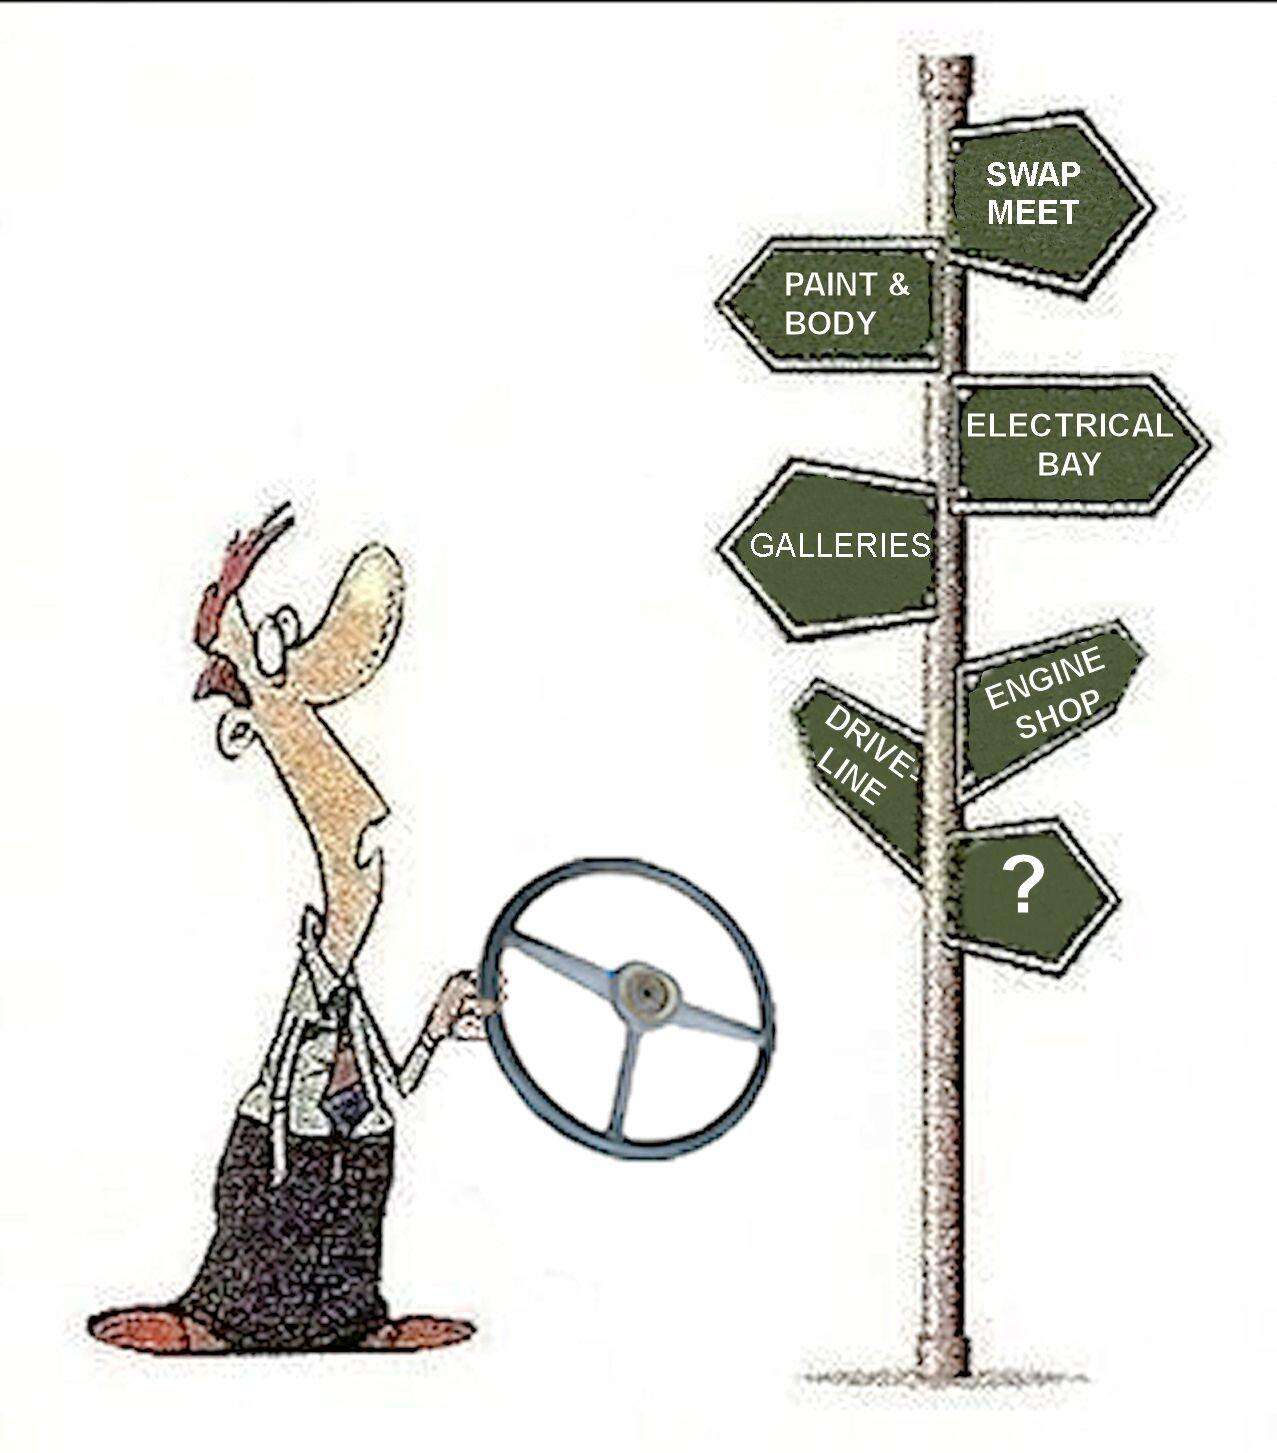


 Okay, I am sitting in my office on this Saturday morning, trying to make a game plan for my 1948 (that I thought to be a 1949).
 The truck is outside, covered with snow and my plan is as follows:


 ) and I moved the truck in my shop, but first a few pictures outside.


 Wasn't meaning for you to go jump up and figure out what it is. I think all our trucks have at least one "owner add on" hahaha!!! I know mine has lots of them.

 I think we can try and keep the "commentary" and "pestering questions" to a minimum. That way we can focus on helping you on things when you do have questions!
 ).


 My original front bumper brackets were trashed, but I was able to find a good pair at a wrecking yard.