Click on image for the lowdown. 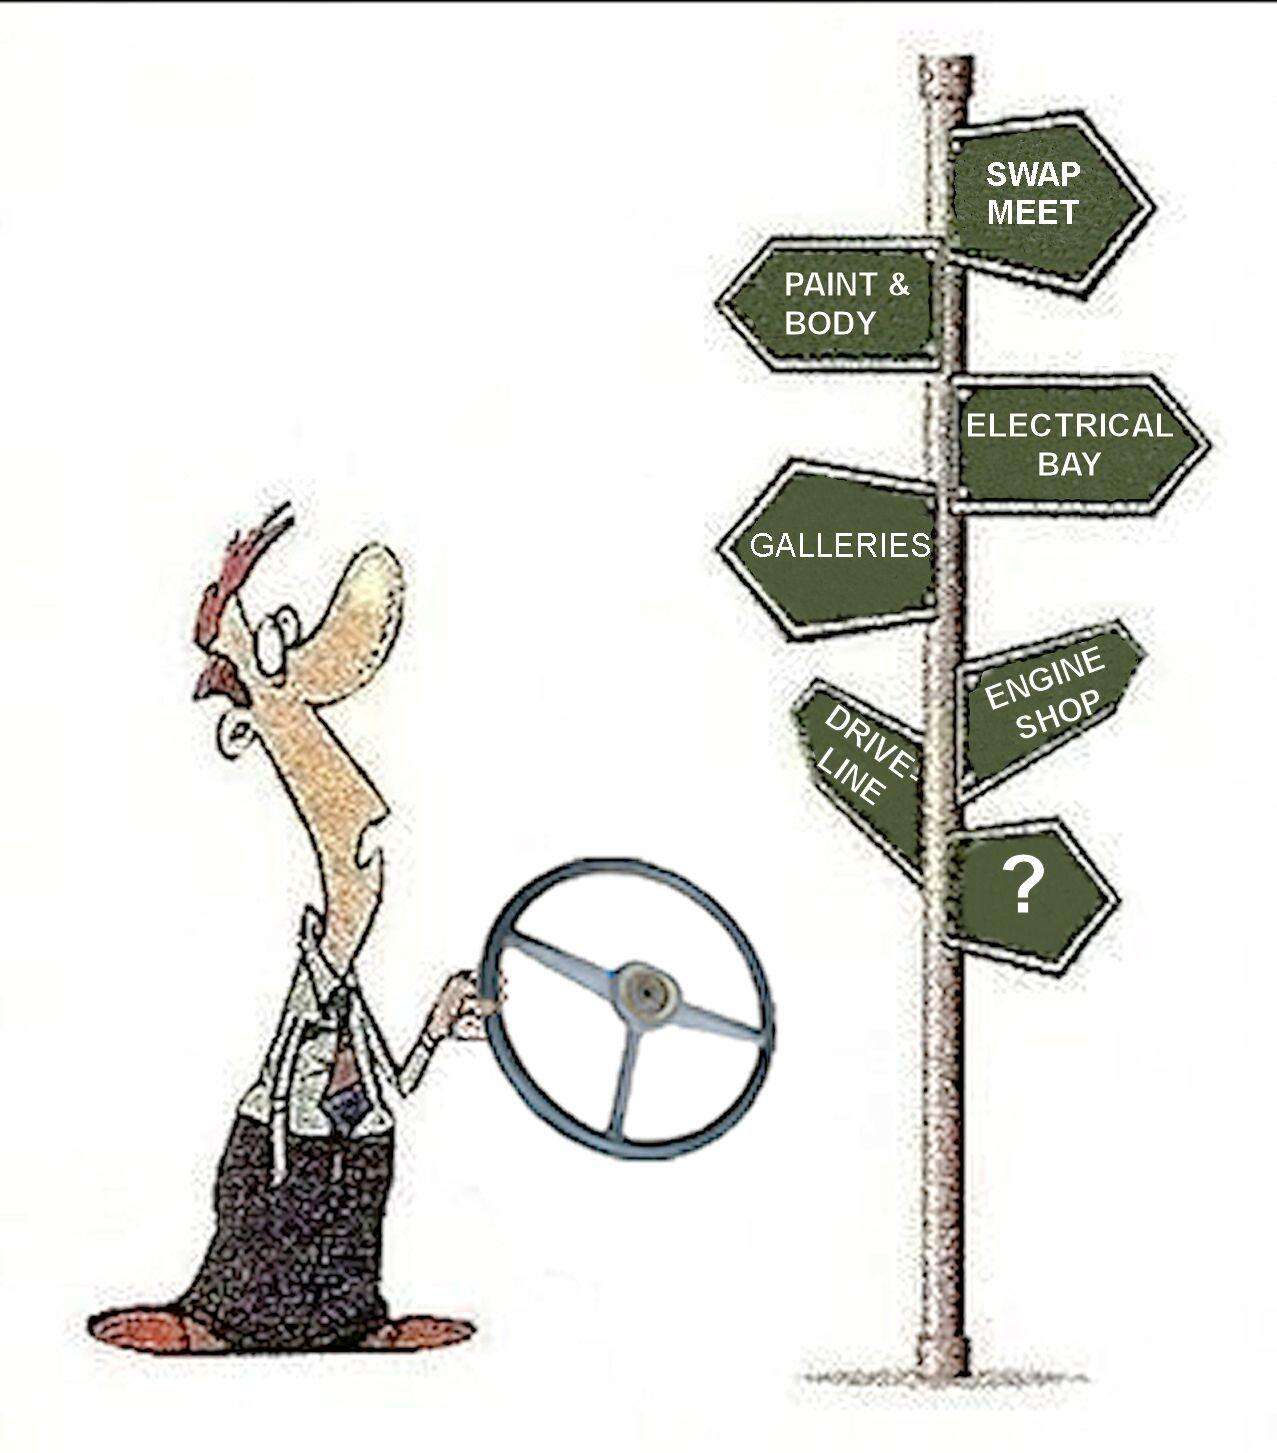
====
| | | Forums66 Topics128,266 Posts1,058,369 Members48,485 | | Most Online14,466
Apr 26th, 2026 | | AD Chevy Trucks  Over 6,000 pictures Brad Allen has an awesome collection of Chevrolet factory pictures that he has set up from film strips. Check them out!
Lots of work on Brad's part ... pure enjoyment (and references) for you!
| | THANKS!
For helping keep this great
old truck web site
on the Internet for over 30 years! and not clogged down
with Ads!  Again, thanks!
| | | | Joined: Jul 2000 Posts: 589 'Bolter | | 'Bolter Joined: Jul 2000 Posts: 589 | Facebook AI has decided I'm a hacker and logged me off my own profile for almost a week now. It won't let me back in. So this thread is for the Stovebolters who were following my updates there. I will still be posting the monthly log entries but this will be a more up-to-date thread. October 22nd 2026 Cleaned and organized the shop a bit, then turned to the passenger side exhaust manifold. The flange studs still need to be repaired but I want to see if there is any interference between the '54 manifold and the '57 generator bracket before I paint the bracket. Ran the 3/8-16" thread straightener die and a drop of oil thru the manifold bolt holes. Went over the manifold mating surfaces with Scotchbrite cookie in the small drill motor. https://www.laroke.com/larryk4674/2026/ds102226am.jpg The generator bracket clears the manifold but I can see I've got some Deep Ponder Mode thought in my future when it comes time to connect the Stingray side pipes that are going under Deerslayer's running boards. The manifold outlet is close to the oil filter cannister. The task at hand is to grind the cast spark plug cover a bit more. It skews upwards a smidgeon in front. https://www.laroke.com/larryk4674/2026/ds102226bm.jpg Mocked up the Eelco Weiand spark plug covers with the stainless 5/16-18" studs and acorn nuts and determined how far the studs had to be screwed in which I marked with masking tape. Set the covers aside and put the acorn nuts on the studs with threadlocker blue. Applied threadlocker red to the cylinder head ends of the studs and screwed them in to set up. Mocked up the valve covers with gaskets to measure for studs as I'm going a different direction from the hex bolts supplied with the stainless bolt kit. Beer of the day is Brickway Brewery's Oktoberfest Marzen-Style Beer. Background music was Loud, Fast & Out of Control, The Wild Sounds of the '50s Rhino Box Set. https://www.laroke.com/larryk4674/2026/ds102226cm.jpg
Last edited by Gdads51; 10/23/2026 2:11 AM. Reason: remove IMG characters as they don't work any longer
| | | | | Joined: Jul 2000 Posts: 589 'Bolter | | 'Bolter Joined: Jul 2000 Posts: 589 | October 26th 2026 Back to the Eelco Weiand spark plug covers. They do press against the valve cover flanges so I placed "stand off" hex nuts on the studs with Threadlocker Red. After that set up, installed the plug covers with Threadlocker Blue on the acorn nuts. They are tight but not pressing on the valve covers now. https://www.laroke.com/larryk4674/2026/ds102626am.jpg Broke down the '57 nailhead generator bracket into its two component pieces and cleaned the flash rust off with Scotchbrite buff in the Dremel motor tool, PRE Paint prepped them and gave them a rattlecan coat of Eastwood's Self-Etching Primer Gray. After the required two hours, gave the bracket pieces a wet sloppy coat of Eastwood's Under Hood Black. The spraybomb was old and a heavy coat was the only way. OOPs, missed a few spots and it got a touch-up coat afterall. Put everything back together after the paint dried. Damnation! Found a few more spots the paint missed. Sprayed a puddle of Under Hood Black in the rattlecan lid and finished touching up the missed spots with a Q-Tip. https://www.laroke.com/larryk4674/2026/ds102626bm.jpgApplied '54 Buick Fireball V-Eight decals to the valve cover's embossed areas. These were vinyl peel-and-stick so I didn't have to mess with a soapy water transfer process. Beer of the day is Lucky Bucket Brewing Company's Festbier Oktoberfest Lager. Background music was The Doo Wop Box Set. https://www.laroke.com/larryk4674/2026/ds102626cm.jpg | | | | | Joined: Jul 2000 Posts: 589 'Bolter | | 'Bolter Joined: Jul 2000 Posts: 589 | October 29th 2026 Got some 5/16-18 black oxide studs for the nailhead valve cover hold downs. Put flanged hex nuts from the stainless bolt kit on the tops with Threadlocker Red, Then JB Welded dress up chrome wing nuts on top of that. https://www.laroke.com/larryk4674/2026/ds102926am.jpgWas gonna run the 5/16-18" thread straightener die thru the head valve cover bolt holes but there wasn't enough clearance with the rocker shaft so I skipped that step. The studs are about 3/8" too long so they will have to be ground down when the JB-Weld cures. https://www.laroke.com/larryk4674/2026/ds102926bm.jpgPulled the finned aluminum valley cover off the nailhead and cut the 1.3" hole for the oil filler tube now that I had the hole saw for it. Looks good. Have to JB-Weld it in place next time I have the valley cover off. Took a look at the gear on the Vertex magneto while it was out. Couldn't see any markings indicating whether the gear was cast iron or steel. Everything I've read about the Isky cams of the time indicates they are cast iron so the magneto gear has to be the same. Beer of the day is Brickway Brewery's Pils Pilsner. Background music was Rod Stewart's Storyteller Box Set. https://www.laroke.com/larryk4674/2026/ds102926cm.jpg | | | | | Joined: Aug 2010 Posts: 613 'Bolter | | 'Bolter Joined: Aug 2010 Posts: 613 | It's gonna have show quality engine details, that's for sure!
1965 C60 school bus | 1967 GMC 6500 school bus
| | | | | Joined: Jul 2000 Posts: 589 'Bolter | | 'Bolter Joined: Jul 2000 Posts: 589 | Thanx, the idea is an early sixties era tribute, my early teen years, when my Dad was an engine builder / machinist. | | | | | Joined: Jul 2000 Posts: 589 'Bolter | | 'Bolter Joined: Jul 2000 Posts: 589 | November 11th 2026 Not much activity this past week, waitin' on tool and parts deliveries. Machinist friend, Jon Carey, is back in town and he texted me on Tuesday that he could visit the BillyBob Shop on Wednesday to take up where we left off on the Latham adapter fit up a month ago. When Jon arrived, we reviewed progress and measurements, enjoyed a beer and he left with the 4-71 blower manifold and plywood Latham template. Jon found more problems with the front Latham support thermostat housing interference than I did. This little setback put me in a Deep Ponder Mode funk for the rest of the afternoon. https://www.laroke.com/larryk4674/2026/ds110926am.jpgJon mentioned an adjustable right angle thermostat housing he saw somewhere. I found a ninety degree housing with a separate o-ringed flange at Summit that might work. Took a gamble and ordered it. It should arrive at the Krash Kubicle on Monday. We removed the front Latham support bracket from the Latham. Jon's plan is to make a longer bracket (front to back) that locates the throttle rod behind the thermostat housing and the support rods further forward. Beer of the day is Lucky Bucket Brewing Company's Pre-Prohibition Style Lager. Background music was Steve Winwood The Finer Things Box Set. I became a Winwood fan in 1967, listening to "Gimme some lovin'" at the Penn State Hub's Friday night mixers and "I'm wasted and I can't find my way home" was my eighties anthem. https://www.laroke.com/larryk4674/2026/ds110926bm.jpg | | | | | Joined: Jul 2000 Posts: 589 'Bolter | | 'Bolter Joined: Jul 2000 Posts: 589 | November 12th 2026 The Summit thermostat housing is a close fit for the nailhead, not perfect but, I think, workable. It's for a Chevy v-eight and it's taller than the nailhead thermostat housing. Came with 3/8" socket bolts. I had to order 5/16" stainless socket bolts. Vinces427bb at superchargerforums.com pointed me in the direction of a 1967-1968 Camaro Z28 & Corvette Thermostat Housing Water Neck which might be a better fit than the Summit thermostat housing. Found one on eBay Motors and took 'nother gamble and bought it. We'll see when it gets here. It would have to be installed backwards and exit on the driver side but it's much lower and closer to the early sixties look I'm trying to achieve. https://www.laroke.com/larryk4674/2026/ds111226am.jpgThe Vertex Magneto Universal 8mm Tinned Copper Wire Pro Spark Plug Wire Set arrived from Pertronix. Marked clothespins 1 thru 8 and clipped them to the plug wires. Installed wires 1, 3, 5 and 7 on the passenger side plugs and installed the Eelco Weiand spark plug cover. Did the same on the driver side with wires 2,4,6 and 8. The nailhead firing order is 1-2-7-8-4-5-6-3. The wires were cut and mocked up in that order. Beer of the day is Peak Organic Brewing Company's Happy Hour, A Crushable Pilsner. Background music was The Who Thirty Years of Maximum R & B box set. https://www.laroke.com/larryk4674/2026/ds111226bm.jpg | | | | | Joined: Sep 2010 Posts: 1,732 back yard wrench turner | | back yard wrench turner Joined: Sep 2010 Posts: 1,732 | That's really looking fine! Going to be like opening a jewelry box when you get it installed.
Wayne1938 1-Ton Farm TruckStovebolt Gallery Forums1989 Silverado 1996 Mustang GT convertible When I die, I hope she doesn't sell everything for what I told her I paid for it! | | | | | Joined: Jul 2000 Posts: 589 'Bolter | | 'Bolter Joined: Jul 2000 Posts: 589 | Thanx. When I get to the wiring stage, gonna go with old style cable lacing instead of zip ties or smurf conduit, thumbscrew hose clamps and the like. | | |
|
|


